
How to make backing cards for enamel pins
Backing Cards are a great way to make your products stand out and provide a story. Here’s a snippet of my process for the Rainbow Sun pin backing card, and I’ll also share vendor recommendations for printing at the end.
Backing Card Making Process
Step 1: Coming up with your design
Unleash your creative mind!
The Rainbow Sun pin is part of the San Funcisco design that’s currently available as a poster and postcard. I wanted to create a colorful design that screamed San Francisco to go along with the vibrant pin, so I chose the iconic Golden Gate bridge since it would stand out with the orangey-red color, and the rainbow water to match the hydrant rainbow spewing from the sun.
Step 2: Draft your design
Once you’ve decided on your design, create a draft so it’s ready to be digitized. I personally like using pencil on paper, then using a pen to clean up the lines and finalize the design. I find it helpful to print out a mock-up (if you don’t have the physical pin yet) and make sure everything looks proportionately correct before going to the next step.


Step 3: Digitize your design
Use design software like Adobe Illustrator or a budget friendlier option like Affinity Designer to transfer your draft into a digital illustration. Use the draft as a guide to trace the lines and finish your design. Easily make adjustments if you want to change some details and play around with the colors until you find that perfect combo.
Don’t forget to include your logo, website, social media tags and/or any other messages in the front or the back of your card!
Recommended design file types are .ai, .jpg, .png, or .pdf.

Step 3: Mock-up & Material Selection
The printing services that I work with provide an extensive selection of paper types & sizes, and their websites are built to help you select the right options for your needs. Some vendors offer a sample book of their paper selection which I found quite helpful since you can feel the texture and thickness of the different types of paper.


Paper Weight
There are a couple paper weight measurements commonly used in the US:
“#” or “lb” referring to pounds
- Text weights ranges from 20 - 80 pounds
- Cover weights ranges from 50 - 140 pounds“pt” referring to points
- Measures thickness of the paper rather than weight
- Pt weights ranges from 10 - 32
For backing cards, I use something sturdy that doesn’t fold easily. I personally like the thickness of Cover 120# or higher, or 16 - 18pt paper. As an example, regular printing paper is usually Text 50# - 80 and some folded greeting cards are Cover 120#.
Once you decide the paper specs and upload your artwork, the vendor will provide a PDF proof. Thoroughly review the trimming and bleeding areas to make sure your artwork doesn’t get cut off awkwardly. Work with the vendor until you’re 100% satisfied with the mock-up.

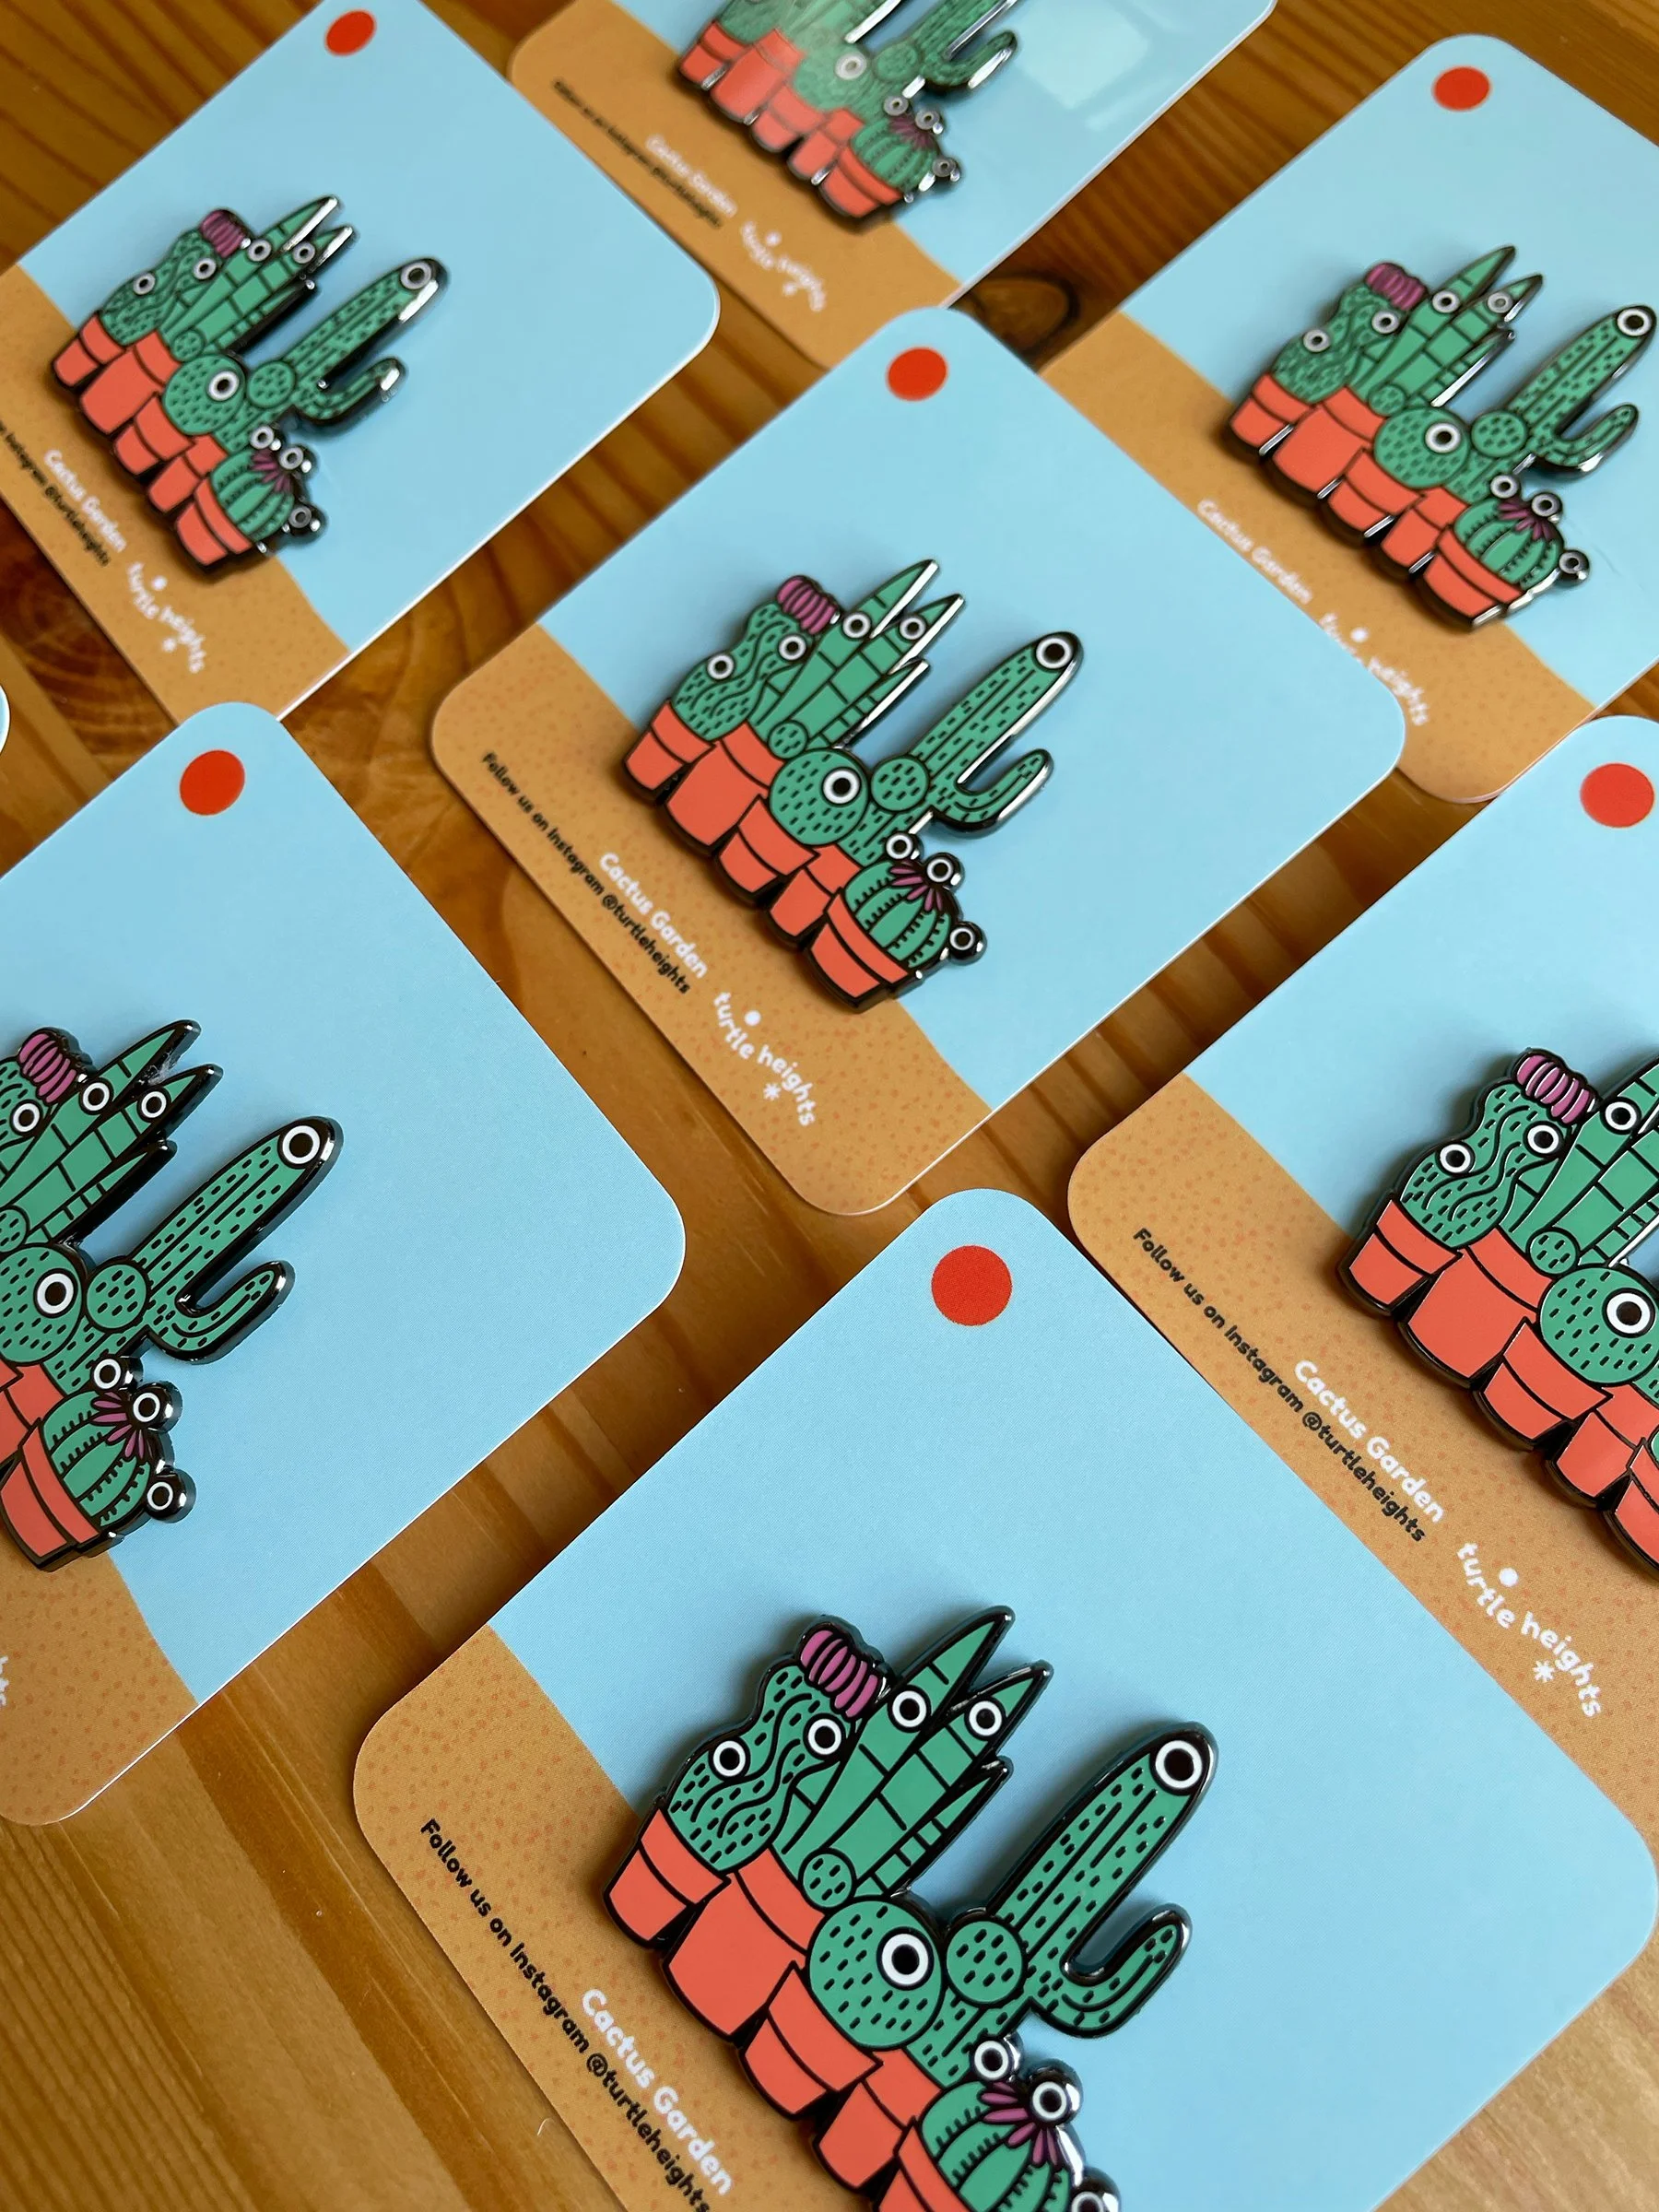
Step 4: Finished Product
I worked with Moo.com for a couple backing cards, and I love that they’re considerate of minimum waste and works with an eco-friendly Swedish paper mill in Munken.


Printing Vendor Recommendations
I’m sharing a couple US based printing vendors that I enjoyed working with and were great in terms of paper selection and the quality of the final products.
- Offers better pricing compared to other large printing facilities.
- Wide selection of papers & printing including eco-friendly options.
- Offers custom selection of dimensions, qty, paper type, thickness, coating, etc.
- Fabulous customer service & very responsive.
- Offers better pricing compared to other large printing facilities.
- Advocates for minimum waste and uses eco-friendly packaging for your final products.
- Good selection of papers & printing including eco-friendly options.
- Depending on what you’re printing, you can select the dimensions, qty, paper type, thickness, and coating from pre-defined options.
- Get 25% off your first order using this link.
Thank you for reading and I hope you found these tips helpful! Please comment if you have any questions.
Need tips on creating enamel pins? Read How to make enamel pins.
Thank you so much for reading! I hope this was helpful ☻ If you have any questions, feel free to drop me a note! Don’t forget to:
🐢 Follow us on Instagram @turtleheights
🛒 Visit our website www.turtleheights.com
👄 Spread the word. Like & share our posts with your friends & fellow artists!